
 The Abyssal Fracture
 Macro
markdown
■【 Flare 】
  North :: Melee  // South :: Ranged
■【 Comets 】※ Stretch tether as far as possible
  West :: H1 MT OT H2 :: East
          D3 D1 D2 D4
■【 Chains 】
  North :: DPS
  South :: Support
■【 Sparking/Branding 】
  MT+D1  ||  OT+D2    ※ Return to middle after stack/spread
  H1+D3  ||  H2+D4    ※ Move AOE clockwise
 ■【 Flow of the Abyss 】
※ Enum: W ← H1D3/MTD1/STD2/H2D4 → E
※ Stack: North ※ Spread: Melee north, Ranged: South
Notes
For Sparking/Branding, the following is a helpful way to remember what the follow up mechanic is (after resolving towers):[S]parking -> [S]pread[B]randing -> [B]uddies
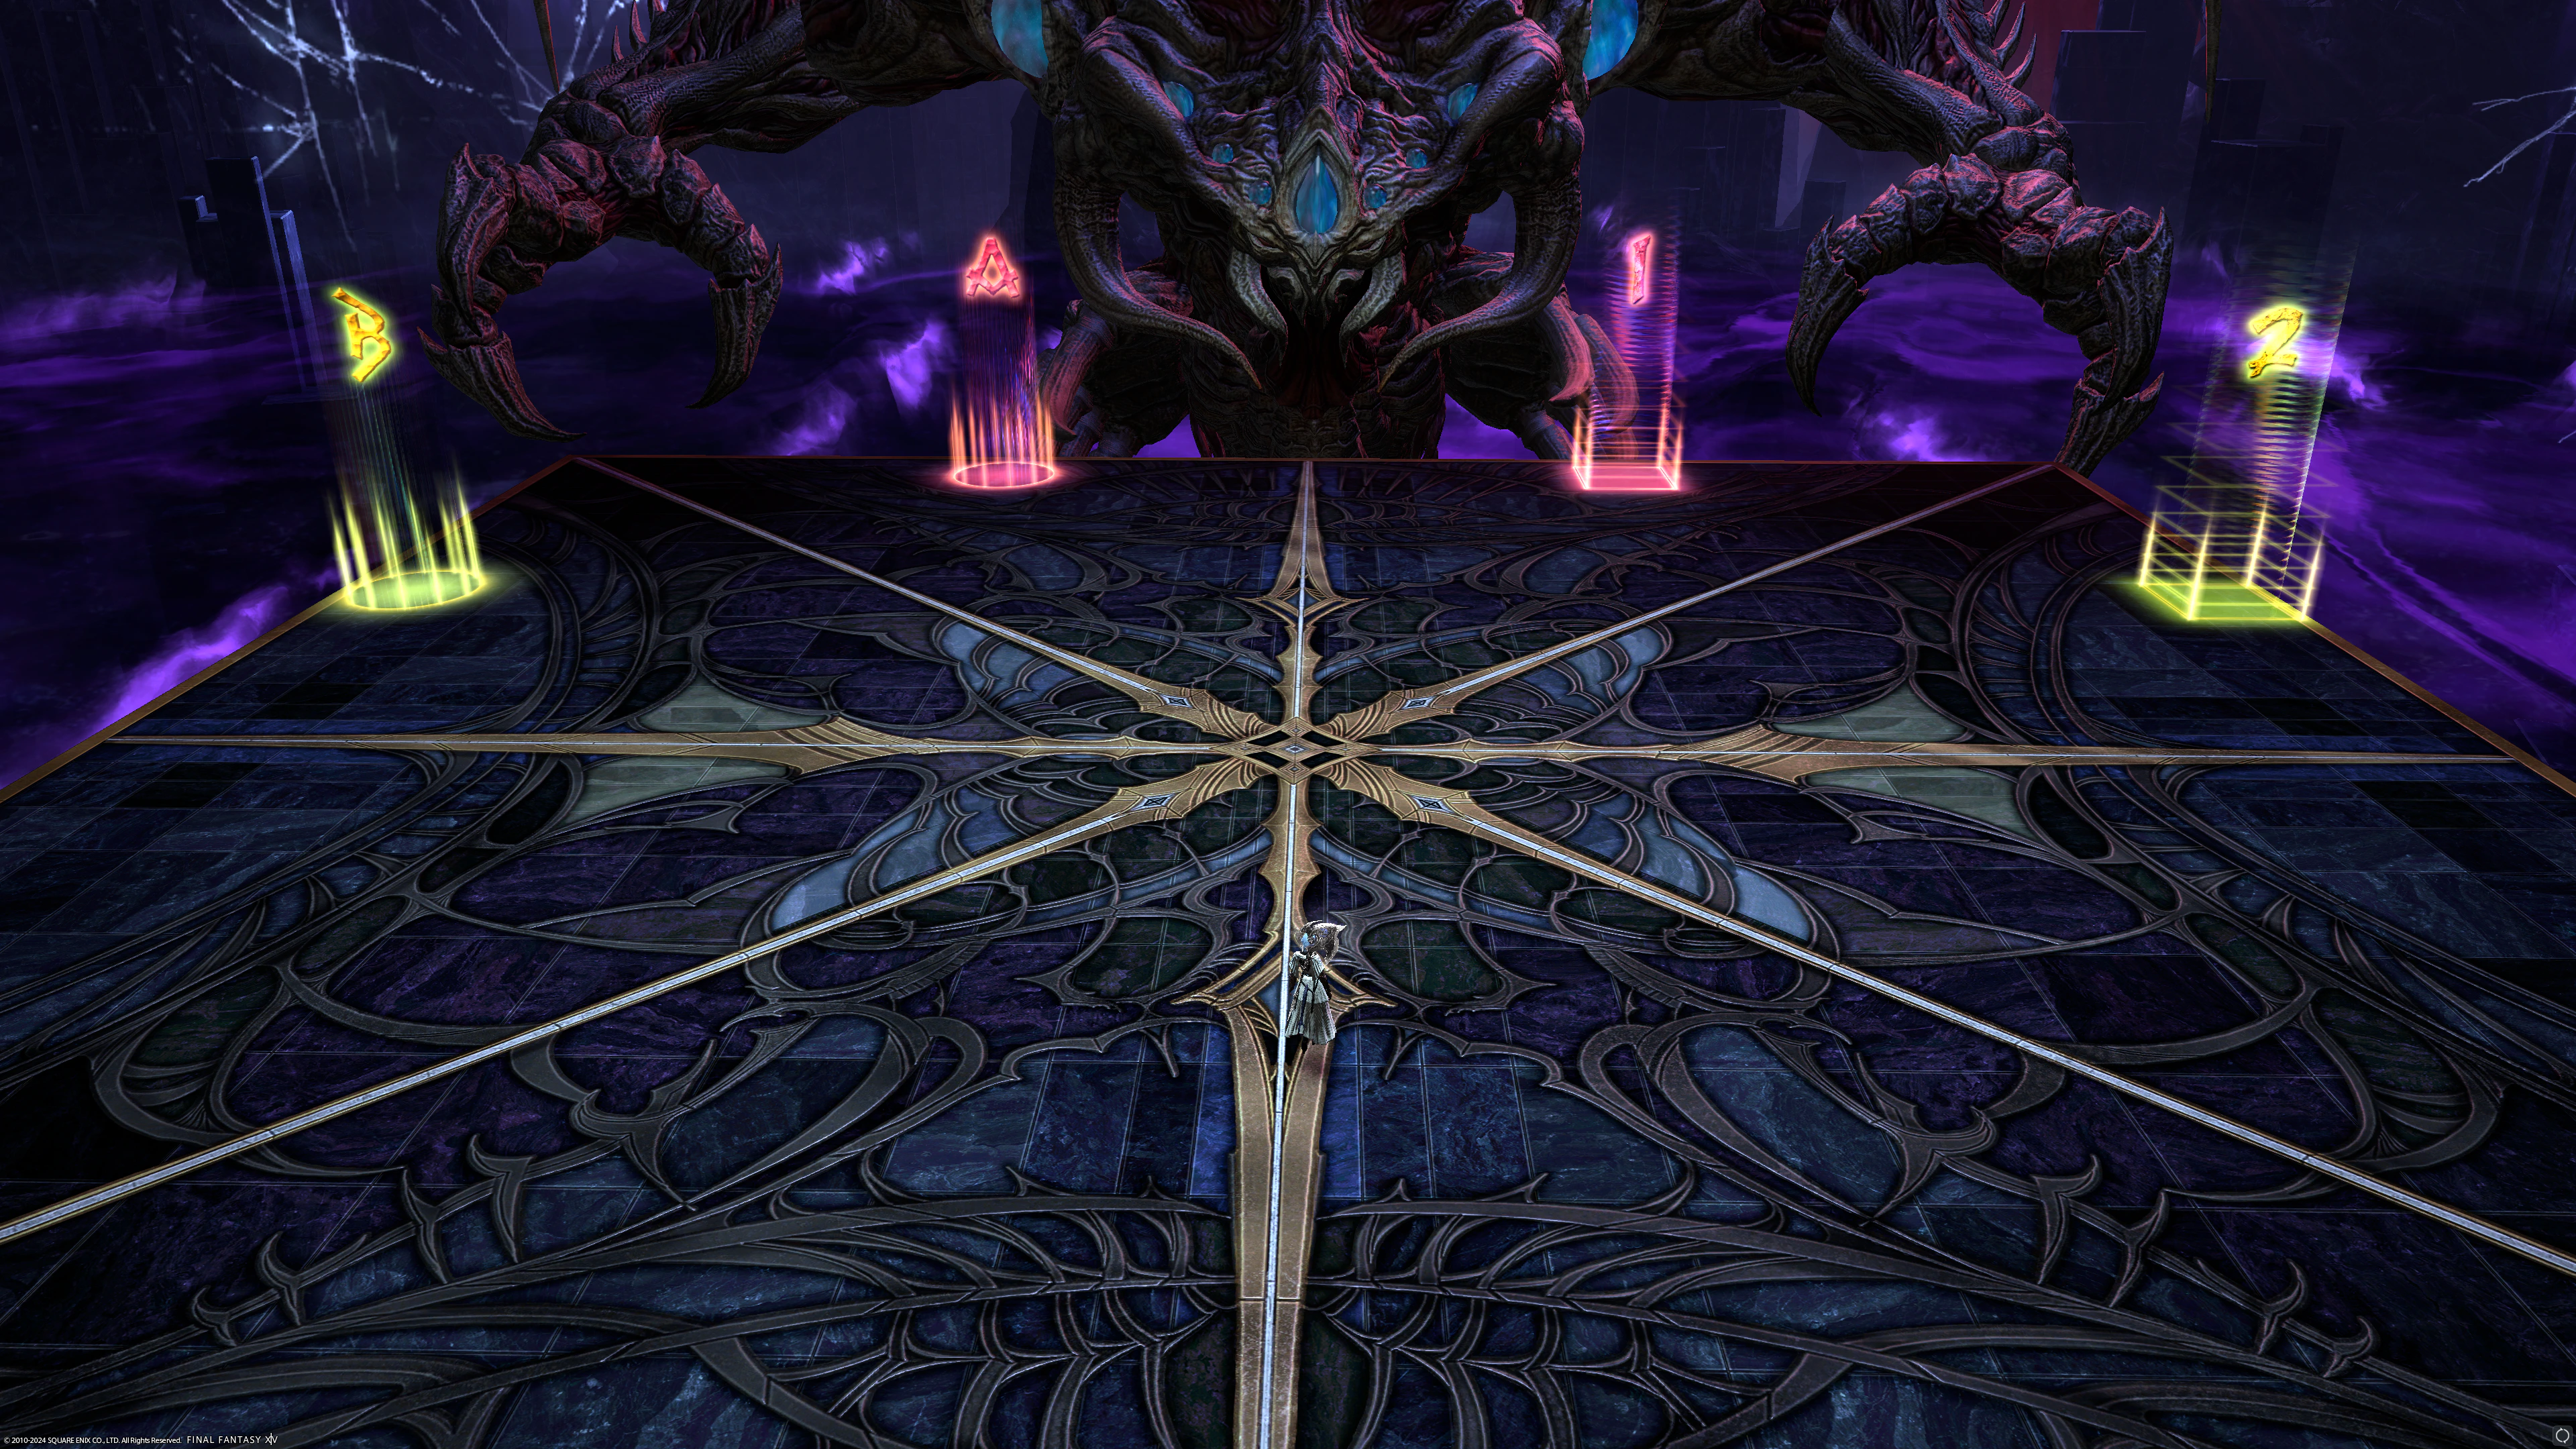
Waymarks
Markers are used to mark some of the safe spots during Visceral Whirl (excluding corners).
Variants of these markers exist where there are markers in the corners, or with a marker in the center
The 2 and B markers are also used by the marked player when dropping Black Hole
Copy image link
json
{"Name":"Zeromus EX","MapID":965,"A":{"X":92.17,"Y":0.0,"Z":82.0,"ID":0,"Active":true},"B":{"X":81.6,"Y":0.0,"Z":91.9,"ID":1,"Active":true},"C":{"X":0.0,"Y":0.0,"Z":0.0,"ID":2,"Active":false},"D":{"X":0.0,"Y":0.0,"Z":0.0,"ID":3,"Active":false},"One":{"X":108.128,"Y":0.0,"Z":82.0,"ID":4,"Active":true},"Two":{"X":118.675,"Y":0.0,"Z":91.9,"ID":5,"Active":true},"Three":{"X":0.0,"Y":0.0,"Z":0.0,"ID":6,"Active":false},"Four":{"X":0.0,"Y":0.0,"Z":0.0,"ID":7,"Active":false}}